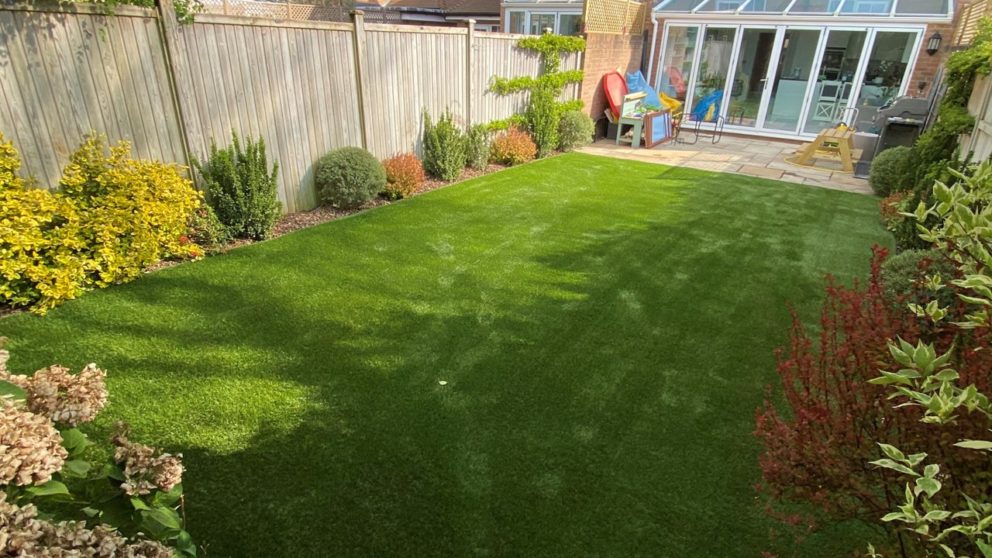
What to Expect on the Day of your Artificial Grass Installation
At Nomow Artificial Grass, we are regularly asked about what to expect on the day of an installation. As you can imagine, a new artificial grass lawn is a large purchase for any customer and the final result can seriously impact the look and value of your property. So it’s important that it’s done right, from a reputable company, that knows what they’re doing.
Our teams of installers have years of experience installing artificial grass up and down the UK, and our head office staff are trained and prepared to help the installation run as smoothly as possible. Our aim is to make the day of the installation as seamless and hassle-free for you as possible.
Before your installation, we’ll call you up and arrange a time and date that best suits you. We have installers based all around the country and they’ll be prepared to start working straight away.
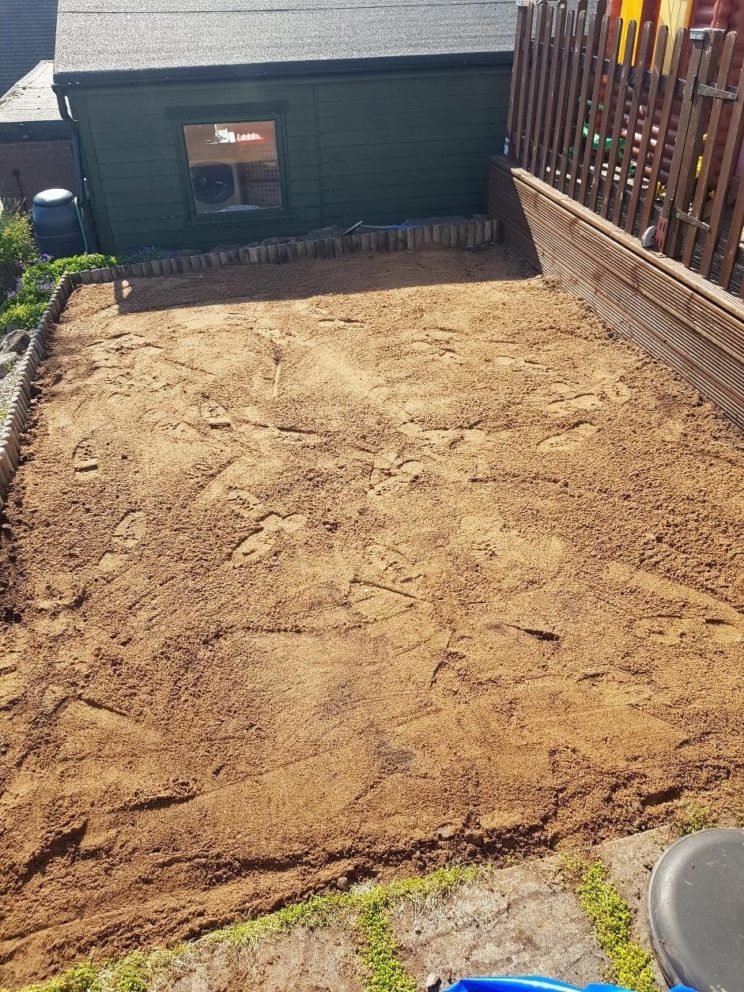
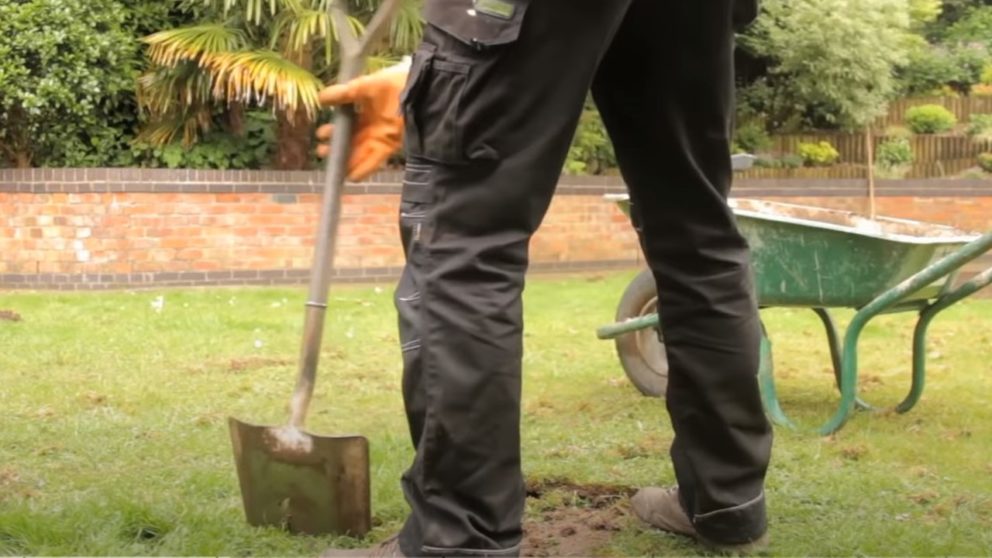
The Artificial grass will be delivered separately, but the first thing that will need to be done is the removal of the existing lawn surface. If the installation is to be carried out on tarmac or concrete, this stage can be skipped, as long as the tarmac surface is in a good condition. If it’s not in the best of conditions, then it will need to be repaired.
The ultimate aim is to create a secure flat base for the artificial grass. Once the topsoil is removed, we’ll be in a position to start the heavy groundworks. We’ll need good access to the garden as we’ll need to lay 30mm deep of crushed limestone over the whole installation area. This will create a sturdy base that can withstand anything.
After this heavy work a strong builder’s brew will be required!
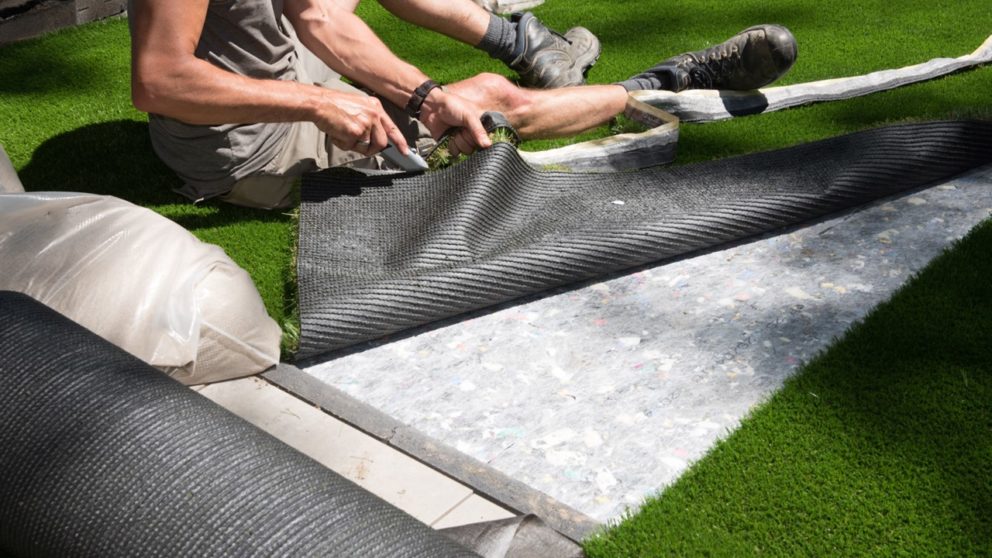
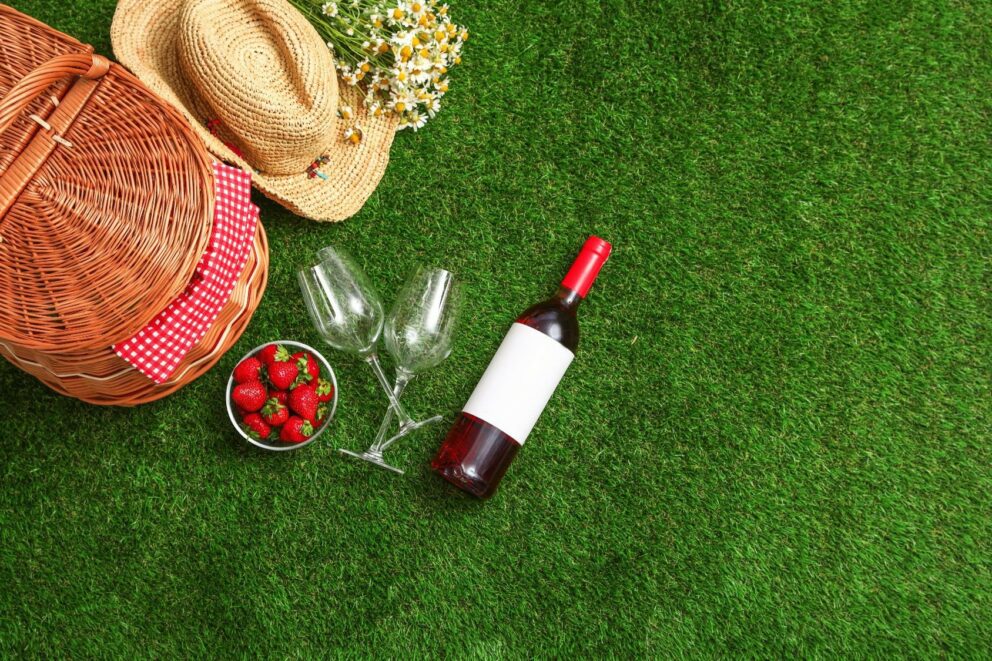
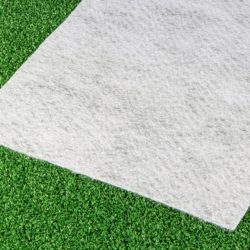
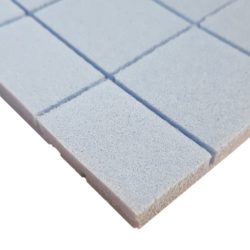
We have two more layers that will need to be placed down before the actual artificial grass. A 10mm shockpad underlay will provide a cushioned layer under the artificial grass which will help protect against trips and falls. It will also facilitate comfortable and relaxing backyard picnics in the summer. This is then followed by the weed membrane which is a fully porous membrane allowing for free-flowing drainage whilst helping to stop weeds.
Another brew might be required.
-
Accessories & Fitting

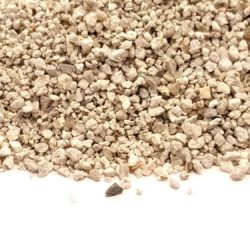
ZeoZorb 25Kg BagIn Stock
£51.24 – £930.00 (inc Vat)View Product -
Accessories & Fitting
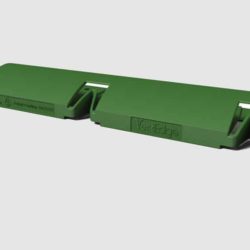
VertEdgeIn Stock
£47.88 – £239.40 (inc Vat)View Product -
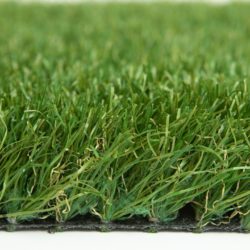
Gardens10years warranty44mmPet SafeUVStabilised
Garden Scape 21 – variable 44mmIn Stock
From £29.90/M2 (inc Vat)View Product -
Accessories & Fitting
Geotex Weed MembraneIn Stock
From £0.96/M2 (inc Vat)View Product -
Accessories & Fitting10mm
Nomowflex – 10mm Shock Pad UnderlayCall For Avilailability
From £9.85/M2 (inc Vat)View Product -
Luxury Grasses10years warranty45mmPet SafeUVStabilised
Empire 19 – 45mmCall For Avilailability
From £24.75/M2 (inc Vat)View Product
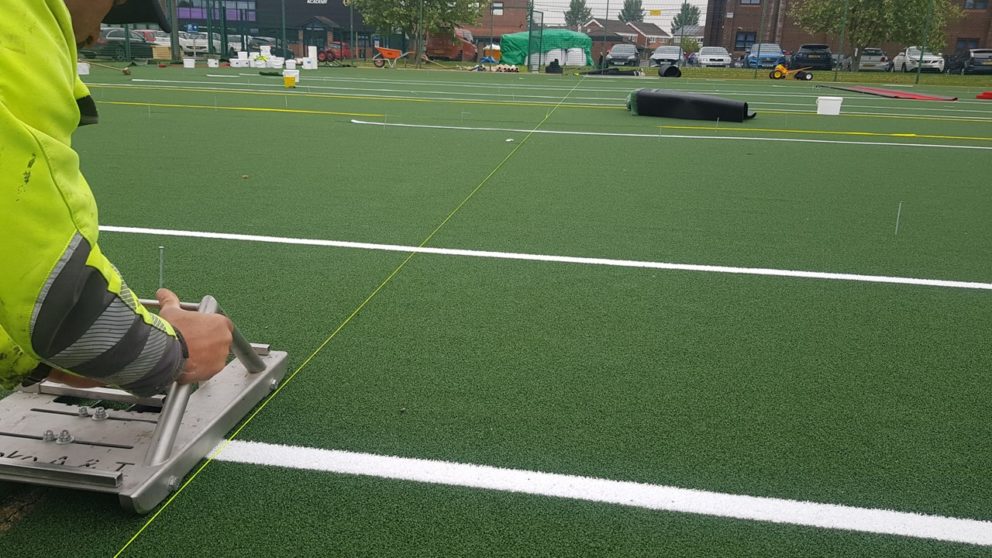
Lastly, the laying of the artificial grass is sometimes one of the quickest steps. We simply roll it out, and then work on the delicate task of neatly joining the pieces of artificial grass and making sure the perimeter is perfectly fitted and secure.
A quick tidy-up and brushing the grass up and your new lawn will be finished and ready to enjoy.