Installing Artificial Grass in Winter: A Comprehensive Guide
Winter is here, but that doesn’t mean you have to wait until spring to enjoy a beautiful, lush lawn. Installing artificial grass in winter is not only possible but also offers several benefits.
In this installation guide, we will walk you through the process of installing artificial grass in winter, addressing the challenges and providing expert tips to ensure a successful installation.
Benefits of Installing Artificial Grass in Winter
Before we delve into the installation process, let’s explore why installing artificial grass in winter can be advantageous. Here are some key benefits to consider:
- Availability and Faster Installation: During the winter months, landscaping projects are less in demand, which means you can often find better availability of artificial grass and installation services. Additionally, with less demand, you may experience quicker turnaround times for installation.
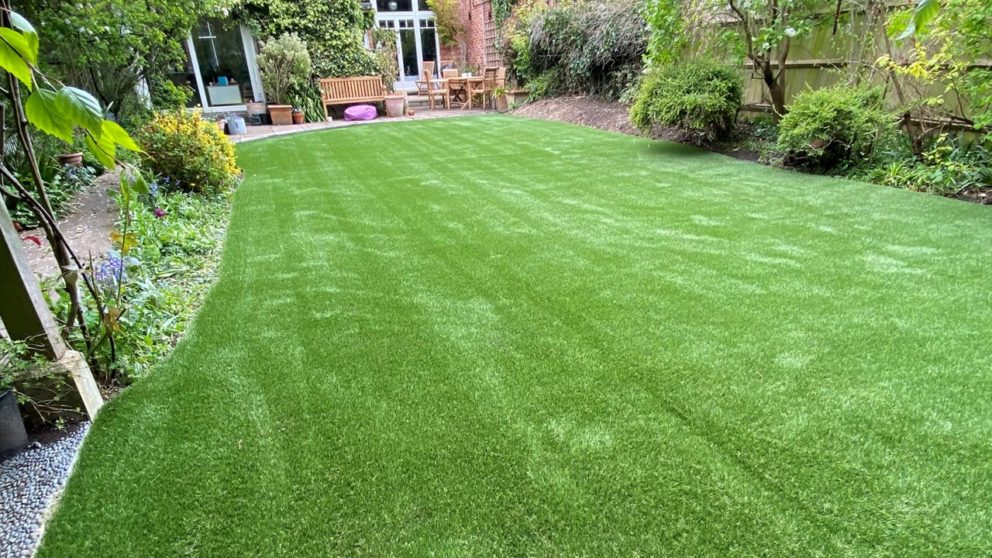
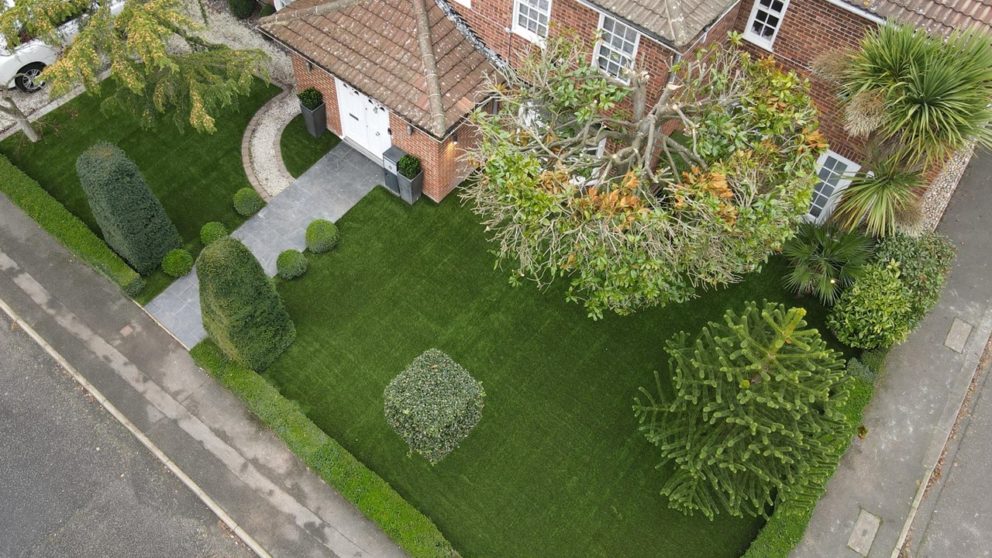
- Year-Round Enjoyment: By installing artificial grass in winter, you can enjoy a beautiful, green lawn all year round. While natural grass may be dormant and brown during the winter, artificial grass offers a vibrant and vibrant look, enhancing the aesthetics of your outdoor space.
- Reduced Maintenance: Artificial grass requires minimal upkeep compared to natural grass, regardless of the season. In winter, you can save time and effort by avoiding tasks such as mowing, fertilizing, and watering, as artificial grass retains its lush appearance without the need for regular maintenance.
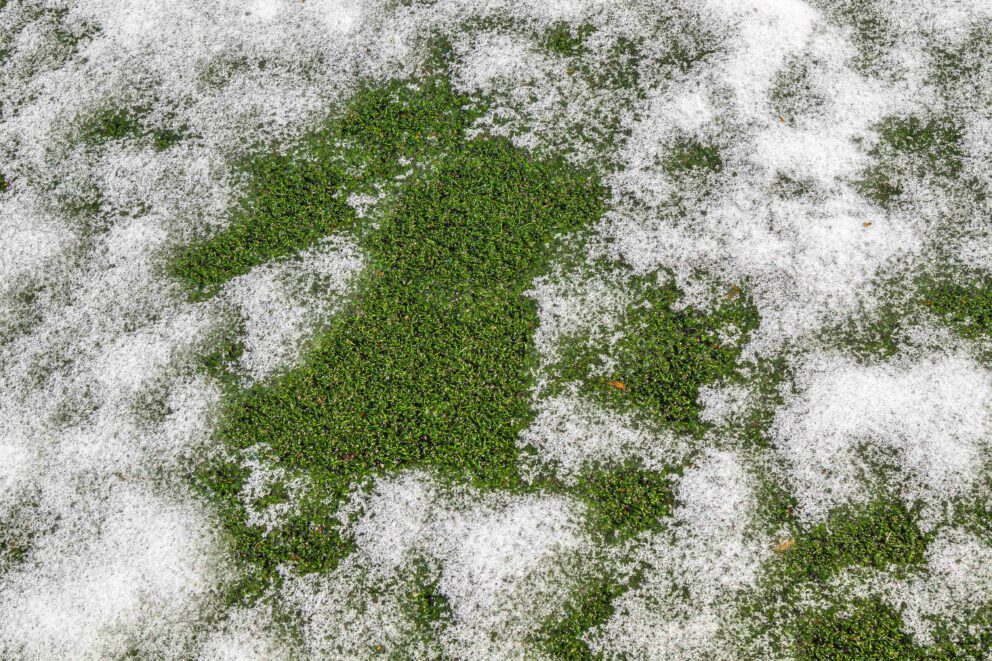
- Durability and Resilience: Artificial grass is designed to withstand various weather conditions, including winter. It is resistant to freezing temperatures, snow, and ice, ensuring that your lawn remains intact and visually appealing even in the harshest winter weather.
Now that we’ve established the benefits, let’s move on to the installation process and address the specific considerations for installing artificial grass in winter.
Preparing for Winter Installation
Before you begin the installation process, it’s essential to prepare adequately for installing artificial grass in winter. Here are some key steps to ensure a successful installation:
- Gather the Necessary Tools: Make sure you have all the tools required for the installation process. Some essential tools include a turf cutter, joining tape, a metal shovel, a plastic shovel, a leaf blower, and a power brush. Having the right tools on hand will streamline the installation and ensure optimal results.
- Clear the Area: Before installing artificial grass, clear the area of any existing vegetation, including weeds and grass. Use a weed membrane to prevent weed growth through the artificial turf
- Prepare the Stone Base: If you are installing artificial grass in a new area, prepare the stone base by levelling and compacting it. Ensure proper drainage by sloping the base away from any structures.
- Allow the Rolls to Acclimate: In colder temperatures, the latex backing of artificial grass can become stiff and difficult to work with. To address this, store the rolls in a warm place, such as indoors or in a heated van, until just before installation. This will make the turf more pliable and easier to handle.
- Flatten the Rolls: Lay out the rolls of artificial grass for as long as possible before cutting, joining, and fixing. This will allow the grass to flatten and acclimate to the surrounding temperature. If you notice any stubborn ridges or creases in the backing, apply hot water (not boiling water) to loosen and flatten them.
Installing Artificial Grass in Winter
Now that you’ve prepared for the installation, let’s walk through the step-by-step process of installing artificial grass in winter:
Step 1: Excavation and Base Preparation
- Excavate the area to the desired depth, removing any existing vegetation, rocks, or debris.
- Ensure the stone base is properly levelled and compacted. Use a compactor or hand tamper to achieve a solid and even surface.
- Install a weed membrane over the compacted stone base to prevent weed growth.
Step 2: Roll Out and Shape the Artificial Grass
- Lay the rolls of artificial grass over the prepared area, ensuring proper alignment and positioning.
- Allow the grass to acclimate to the surrounding temperature for optimal installation.
- Cut the grass to the desired size using a turf cutter or a sharp utility knife. Leave a slight overlap at the edges for a seamless finish.
Step 3: Joining and Securing the Grass
- Use joining tape and adhesive to secure the edges of the artificial grass. Apply the adhesive evenly along the seam and press the edges together firmly.
- Place heavy objects, such as sandbags or weights, along the seam to hold it in place while the adhesive cures.
- Secure the perimeter of the grass using landscape spikes or staples, ensuring a secure and tight fit.
Step 4: Infill and Brushing
- Spread the recommended amount of infill material evenly across the surface of the fake grass. Use a seed spreader or a broom to achieve an even distribution.
- After applying the infill, use a power brush to brush the grass fibres in an upright position. This will help distribute the infill and ensure a natural look and feel.
Step 5: Final Touches and Cleanup
- Trim any excess grass from the edges using a sharp utility knife or turf cutter.
- Use a leaf blower or a broom to remove any debris or loose particles from the surface of the fake lawn.
- Inspect the installation for any imperfections or uneven areas and make necessary adjustments.
Congratulations! You have successfully installed artificial grass in winter, transforming your outdoor space into a beautiful, low-maintenance lawn that will thrive all year round.
Additional Tips for Winter Installation
Here are some additional tips to ensure a smooth and successful artificial grass installation in winter:
- Consider Snow Melt: If you anticipate heavy snowfall in your area, consider installing a snow melt system beneath the artificial grass. This will help prevent snow accumulation and ensure uninterrupted use of your lawn during winter.
- Choose the Right Tools: Make sure to use tools and adhesives that are suitable for cold weather conditions. Check the manufacturer’s recommendations and select products designed for winter installations.
- Monitor Weather Conditions: Keep an eye on the weather forecast and plan your installation accordingly. Avoid installing artificial grass during heavy rainfall, extreme cold, or snowstorms.
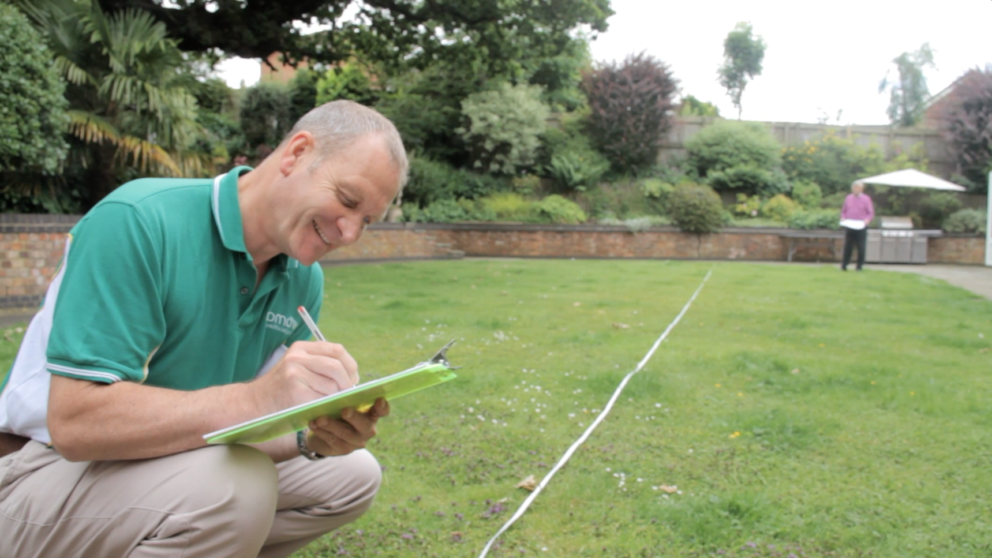
- Seek Professional Assistance: If you’re unsure about the installation process or if you prefer professional expertise, consider hiring a reputable artificial grass installer. They have the experience and knowledge to handle winter installations efficiently.
Enjoy a Beautiful Lawn All Year Round
By following these guidelines, you can successfully install artificial grass in winter and enjoy a stunning, low-maintenance lawn regardless of the season. Whether it’s the cold winter months or the scorching summer heat, your artificial grass will provide year-round beauty and functionality.
Remember, installing artificial grass in winter requires some extra precautions and considerations, but with the right preparation and proper installation techniques, you can achieve outstanding results. So, don’t let the weather hold you back. Embrace the benefits of artificial grass and create a vibrant outdoor space that you can enjoy throughout the year.
To buy artificial grass for your installation project, click the link below.