Do You Need to Dig Up Grass Before Laying Artificial Grass?
Artificial grass has become increasingly popular due to its low maintenance requirements and year-round green appearance. Many homeowners are considering installing artificial turf as a cost-effective and time-saving alternative to natural grass. However, one common question that arises is whether it is necessary to dig up the existing grass before laying artificial grass.
In this guide, we’ll provide you with all the information you need to make an informed decision. We will explore the pros and cons of removing the grass, and walk you through the installation process of laying artificial grass on soil.
Understanding the Benefits of Removing Grass
Before we delve into removing grass, let’s briefly discuss the benefits of doing so. While it is possible to install artificial grass directly on top of existing grass, there are certain advantages to removing the grass first.
Enhanced Longevity
When artificial grass is installed over existing grass, it may not last as long as it should. Over time, the quality of the product can deteriorate compared to turf that was installed on bare ground. By removing the grass, you create a clean and even surface, ensuring the longevity of your artificial grass.
Improved Drainage
One of the significant challenges of laying turf over real grass is the lack of proper drainage. Without proper preparation, water from sprinklers or rainfall can accumulate, leading to puddles and potential issues such as slips, product deterioration, and uneven surfaces. By removing the grass, you can address drainage concerns and create a suitable base for your artificial grass.
Even Surface
While most of the grass lawn will die beneath the turf due to lack of sunlight, some may attempt to push through the material, resulting in unsightly bumps and divots. Removing the grass allows you to create an even surface, ensuring a smooth and visually appealing finish for your artificial grass.
Step-by-Step Guide to Removing Grass
If you have decided to remove the existing grass before laying artificial grass, here is a step-by-step guide to help you through the process.
Step 1: Gather the Necessary Tools
Before you begin, make sure you have the following tools:
- Measuring Tape
- Grass Cutter
- Shovel & Rake
- Rock/Base
Step 2: Measure and Define Your Project Area
Using a measuring tape, determine the area you want to cover with artificial grass. This will help you estimate the amount of turf you will need for your project. Define the boundaries of the project and identify any obstacles, such as trees or planters, that you want to incorporate into the final design.
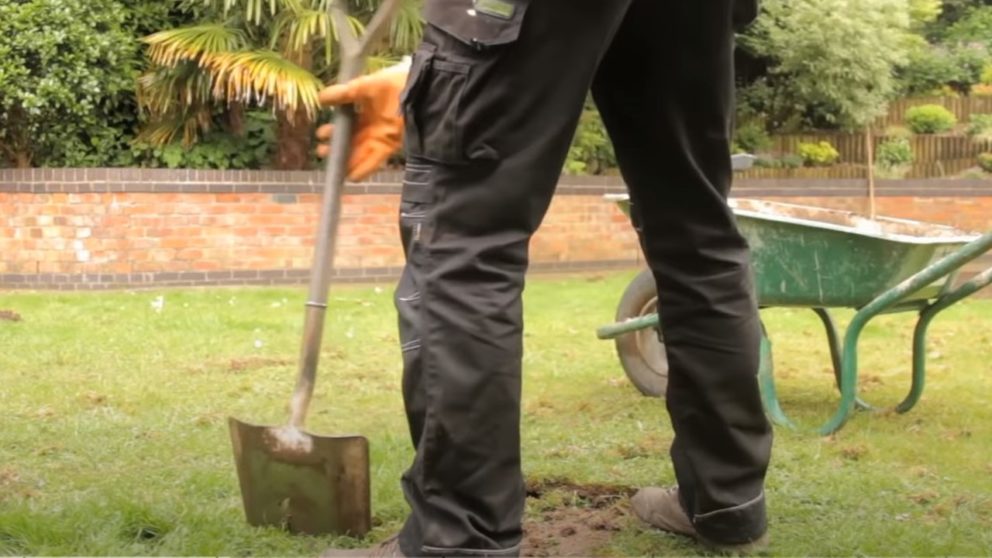
Step 3: Clear the Existing Grass
Use a grass cutter or a shovel to remove the turf. Cut small squares, approximately 10×10 inches, and lift them out. Be careful to remove the majority of the roots to create a clean surface. Dispose of the removed grass in a wheelbarrow for easy transportation.
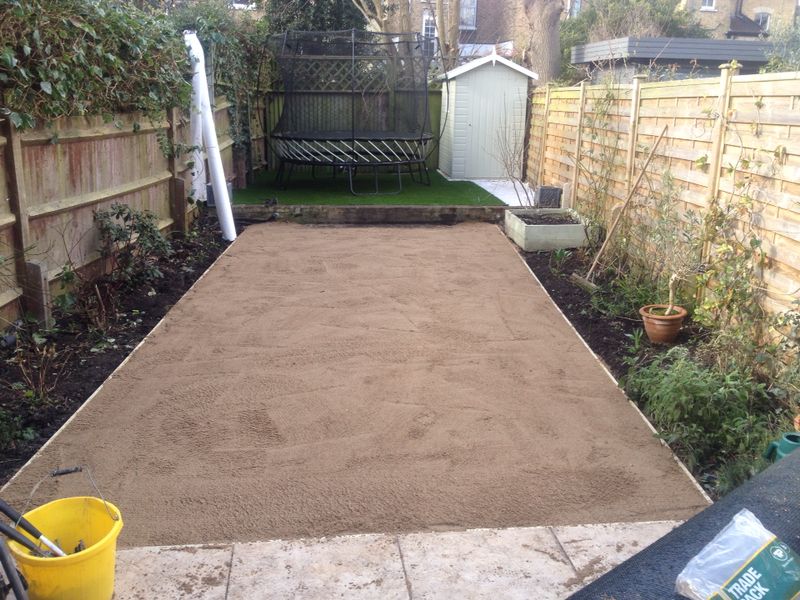
Step 4: Prepare the Soil for Drainage
After removing the grass, assess the drainage of the soil. If necessary, create a suitable drainage system to prevent water pooling. Consider digging small drainage gaps around the perimeter every 15 cm to ensure proper water flow.
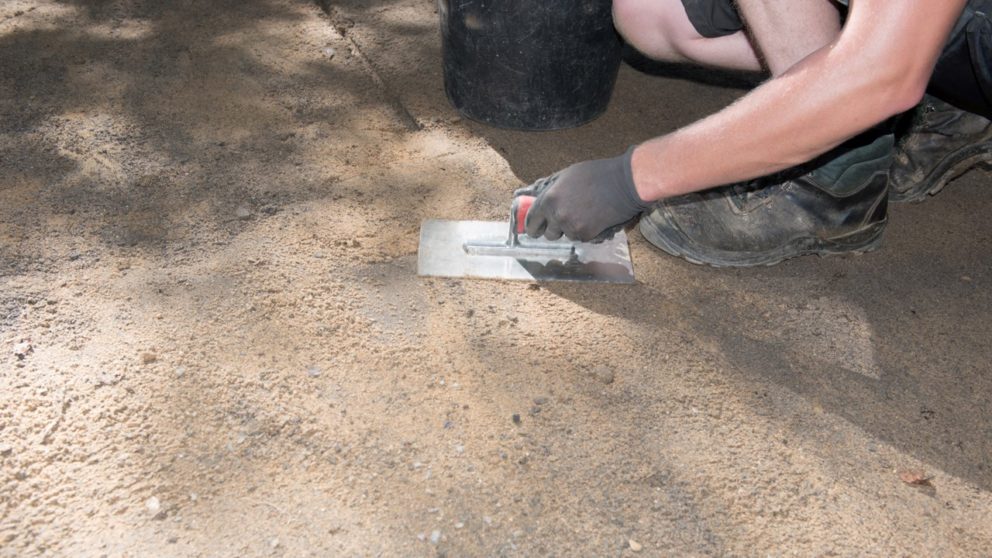
Step 5: Add a Rock/Base Layer
Spread a layer of finely ground rock, decomposed granite, or gravel over the prepared soil. This base layer serves as a foundation for your artificial grass. It promotes proper drainage and provides stability for the turf. Make sure the base layer is even and level by using a flattening tool or a lawn roller.
Step 6: Weed Prevention
Be diligent in removing any remaining vegetation to create a clean surface for your artificial grass. Apply a weed membrane or use a quality weed barrier over the base layer. This extra layer of protection prevents weed growth and ensures a maintenance-free lawn. You can also spray your base layer with weed killer to remove any pre-existing weeds.
Laying Artificial Grass on Prepared Soil
Once you have successfully removed the grass and prepared the soil, you are ready to lay your artificial grass. Follow these steps to achieve a professional finish:
Step 1: Measure and Cut the Turf
Measure the dimensions of your project area and cut the artificial grass to fit. Use a sharp utility knife to make clean cuts. Be precise to ensure a seamless installation.
Step 2: Lay the Turf
Roll out the artificial grass over the prepared soil, ensuring it aligns with the boundaries of your project area. Allow the turf to rest for a few hours to relax any folds or wrinkles.
Step 3: Trim and Shape the Turf
Trim any excess turf using a sharp utility knife. Shape the edges to fit around obstacles or planters. Take your time to achieve a clean and professional look.
Step 4: Secure the Turf
Secure the artificial grass in place using landscape nails or artificial grass adhesive. Place them approximately every 15 cm along the edges and seams of the turf. This prevents shifting and keeps the turf securely in place.
Step 5: Brush and Fluff the Turf
Use a power brush or a stiff broom to brush and fluff the artificial grass. This step helps to distribute the infill material evenly and creates a more natural appearance.
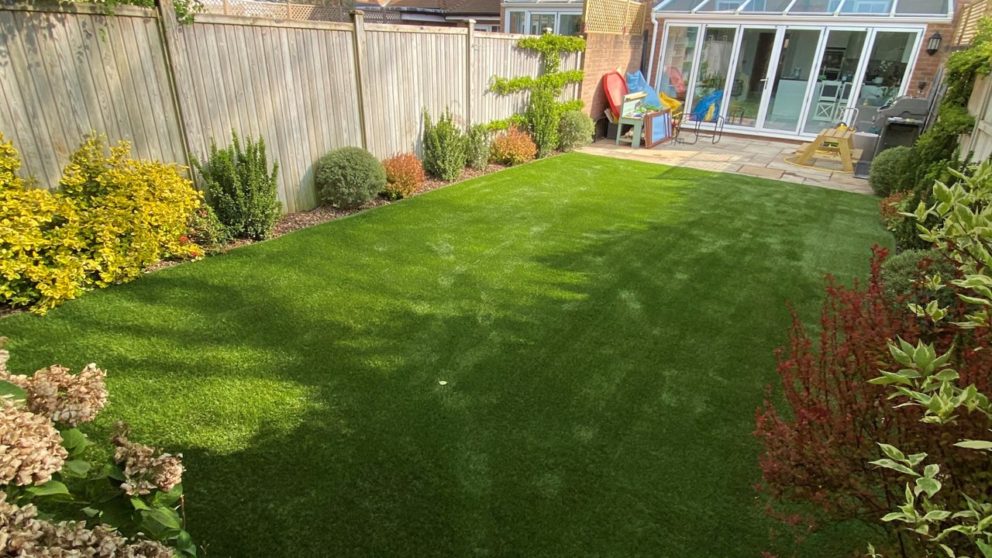
Step 6: Enjoy Your New Artificial Lawn
Congratulations! You have successfully laid artificial grass on prepared soil. Take a step back and admire your transformed lawn. Enjoy the low maintenance and long-lasting benefits of artificial grass.
While it is possible to lay artificial grass directly on top of existing grass, removing the grass before installation offers several advantages in terms of longevity, drainage, and surface evenness. By following our step-by-step guide, you can effectively remove the grass and prepare the soil for a professional artificial grass installation.
Remember, preparation is key to achieving a long-lasting and visually appealing artificial lawn. Transform your outdoor space with Nomow artificial grass and enjoy the benefits of a beautiful, hassle-free lawn all year round.